

In the age of overproduction, digital omnipresence, and in the face of the "climate emergency", we see a growing counter-culture, a desire to return to our old values, to real things. We are more and more in search of authenticity, of concreteness, of truth.
It is in this perspective that Valet de pique was born, with the objective of highlighting the professions where time is taken, with a know-how, a real one! A know-how that implies a long training, patience, perseverance and a lot of practice.
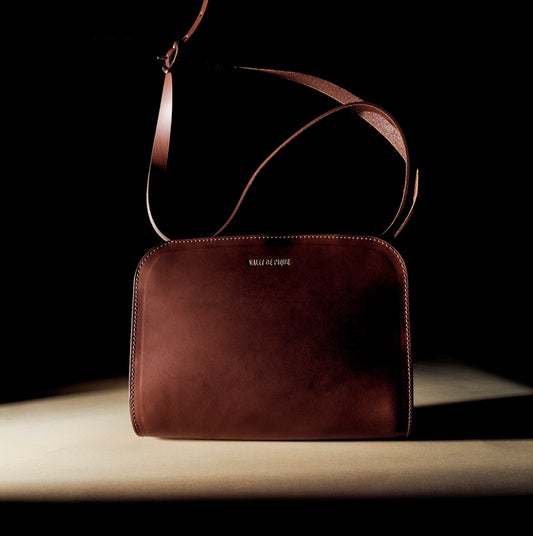
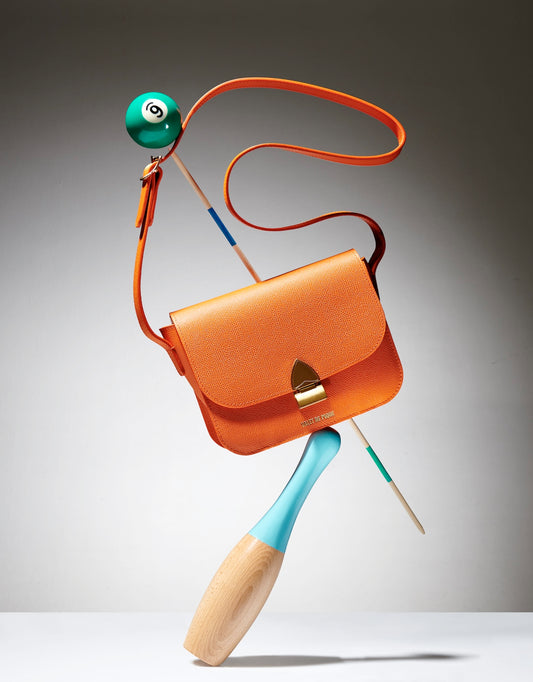
Looking back through history, leather is a material, raw, natural, durable. That's all we appreciate about this noble material.
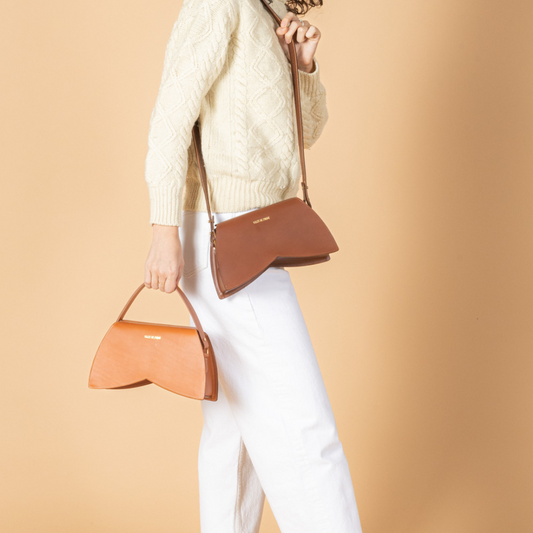
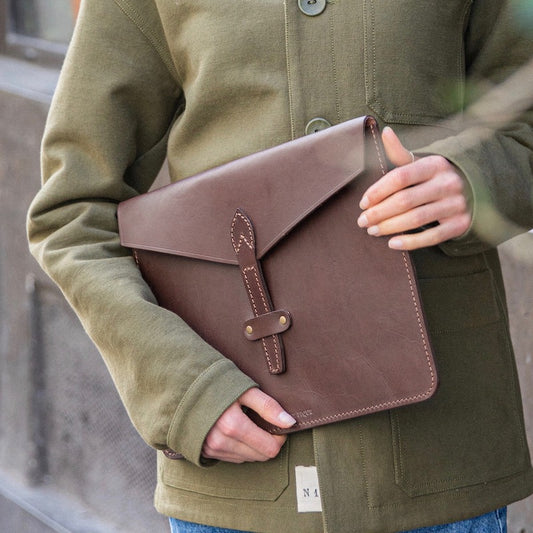
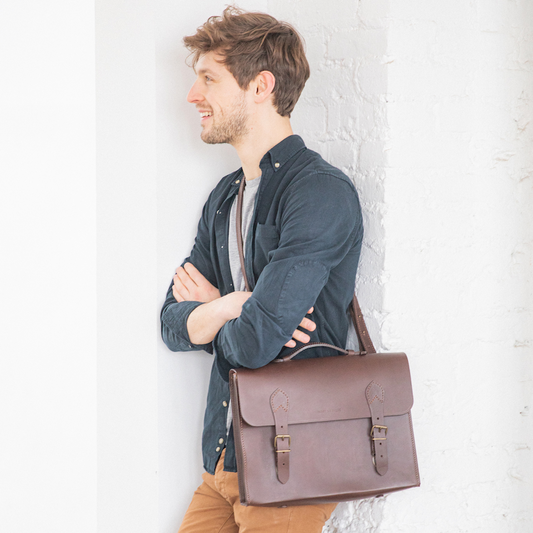
In this article, we will see what are the steps to make a functional bag to carry your laptop and various items.
1. FIRST STEP: THE PATTERN
The first step in the creation of a Valet de Pique piece is the realization of a pattern. We draw our inspiration from our readings, from the observation of the fashions, the returns and the requests of our customers, the historical models of the workers. We then make a first drawing of the design, with the dimensions and ribs. The drawing is then sent to the workshop. Their job is then to create from the drawing the patterns of the bag (the templates).
A template is made in cardboard for each piece of leather. This template allows us to have a first feedback on the shape of the bag in 3D. We then make small modifications (on certain details, on the volumes of the bag, etc.). Each gusset, each strap, each pocket is then named and numbered. The pattern maker then identifies each rivet and seam location on the different templates.
2. STEP TWO: CHOOSING THE LEATHER
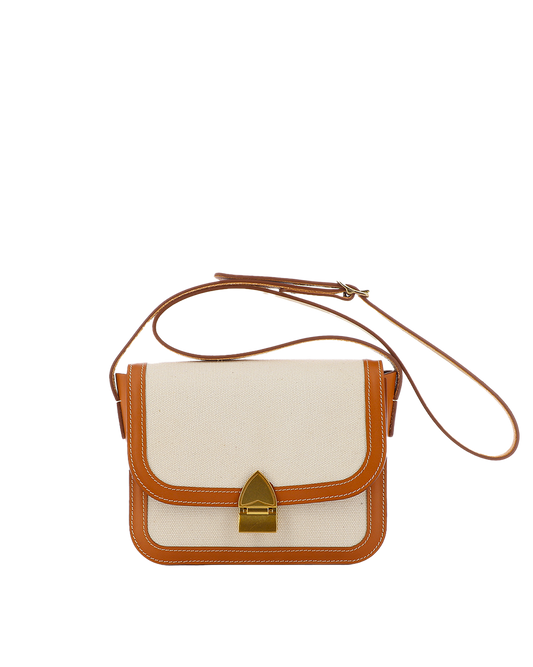
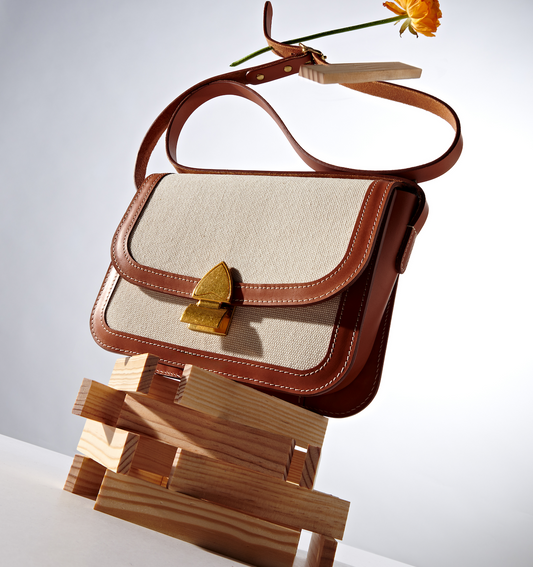
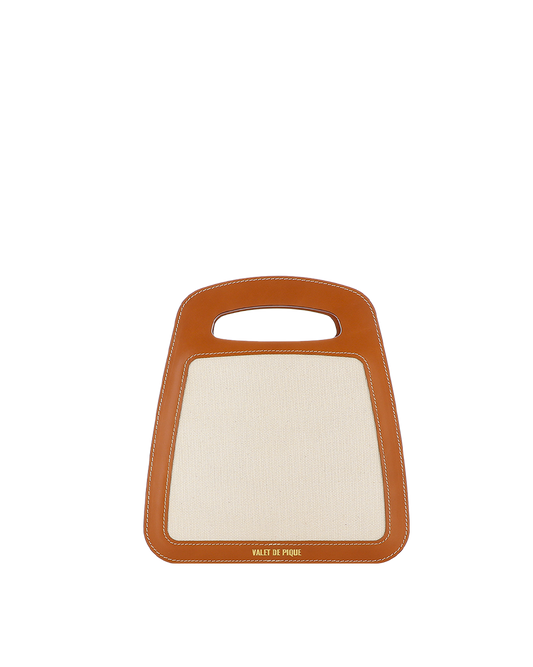
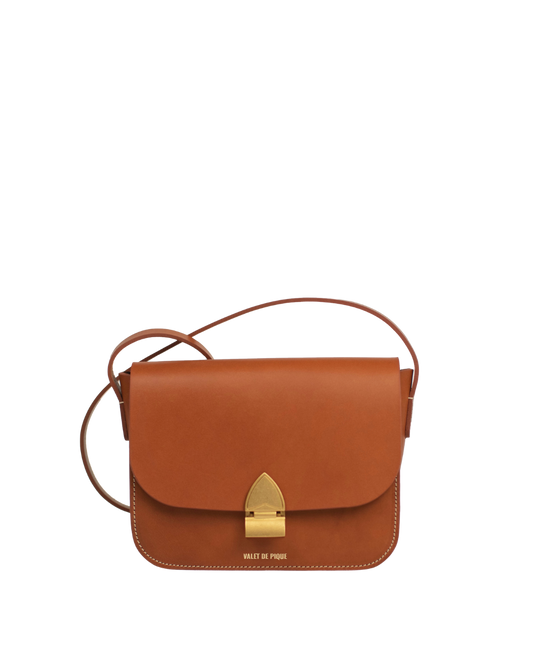
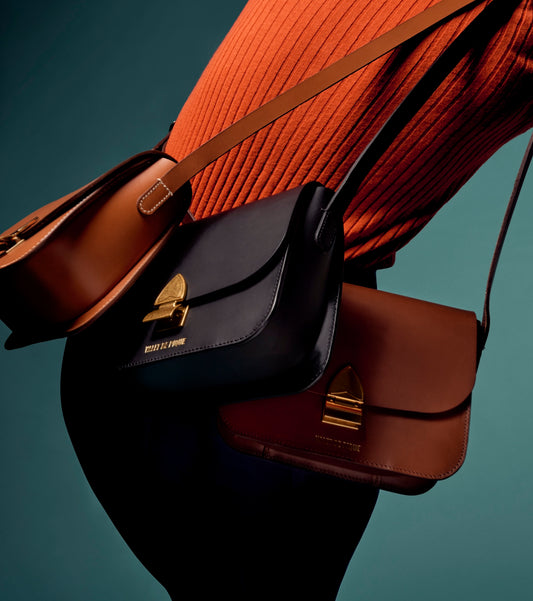
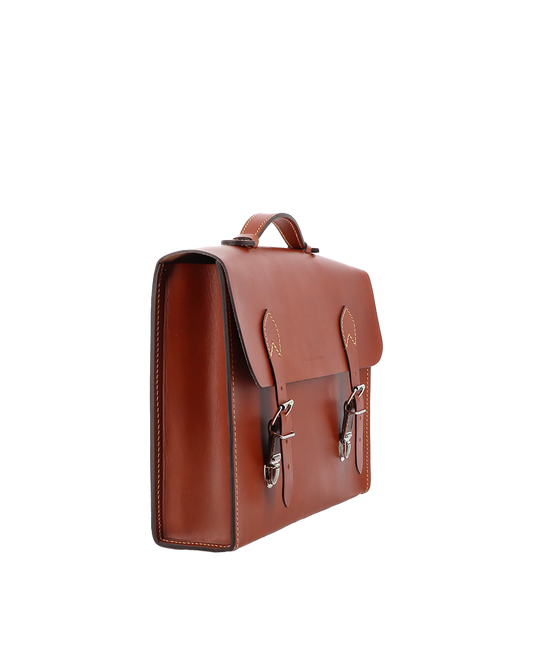
Choosing the right leather is an art. You must choose a leather that is both beautiful and functional. Leather comes in many different forms. It can be hard or soft, smooth or grainy, of different thicknesses and colors. We use Spanish cowhide with a thickness of three 2 to 3 millimeters. We work with the collar, the part of the cow that goes from the front shoulder of the cow to its neck. This is why we can see on some pieces slightly apparent wrinkle marks on some skins.
3. STEP THREE: CHOOSING HARDWARE
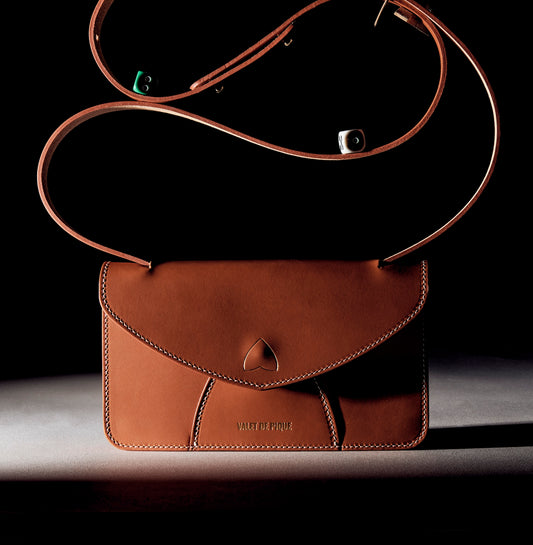
Beautiful hardware such as buckles or rivets can make all the difference in the style of a bag. We love brass and silver because they work well with our Honey, Chocolate and Black leathers.
4. STEP FOUR: CUTTING
Once the design of the bag and the templates are validated, a welder makes a punch that will allow the leather to be cut with a press. For prototypes, the pieces are cut with a sharp knife and a steel ruler once the template is transferred to the leather with a scratch punch. The main cutting tools used are the cobbler's knife, the ratchet knife or the scalpel.
5. STEP FIVE: EMBOSSING
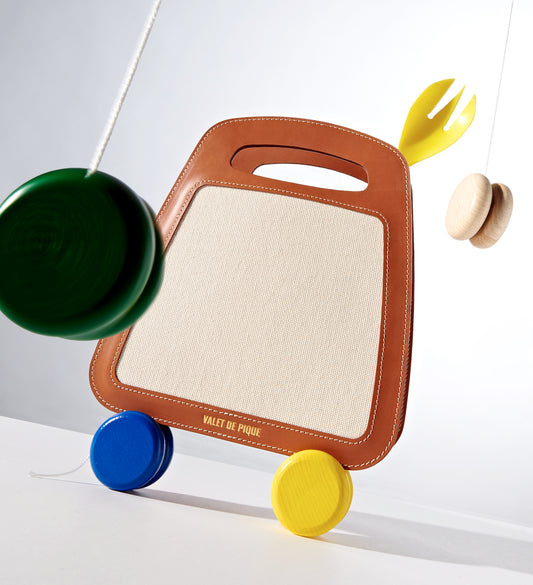
The Valet de pique logo is embossed on the leather using a press.
6. STEP SIX: ASSEMBLY
To hand sew through a thick material such as leather you normally use an awl to stitch through the leather. The holes must be made with precision to obtain a clean line of stitches. Once the holes are made, the pieces are glued together, to hold them together when sewing. Quality hand stitching is the key to finishing custom leather bags. A beautiful stitch is a true sign of authentic craftsmanship that you can't get using a machine. Hand stitching involves threading two needles onto a length of waxed thread, then running the thread through the pre-drilled holes to secure the stitch.
Valet de pique pieces are machine sewn. With a decorative slanted seam, reminiscent of saddle stitch. This is the same technique used for the leather goods at Hermes.
7. SEVENTH STEP: FINISHING
After sewing, this is the final touch-up stage. This may include adding rivets to reinforce the corners, smoothing the edges and edge dyeing to make the piece even more elegant.
Working with leather requires patience, perseverance and lots of practice. But let's remember that leather can often surprise you beyond your expectations...